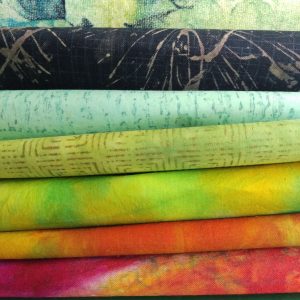
At CCBG meeting on 14th May we were treated to a fun morning of instruction into the old technique but still popular today of creating your own book cloth with Nicky.
So not able to find papers to your liking for your bookbinding ? Making your own book cloth using fabric could be the answer.
Here is the technique used.
Materials:
- Japanese Washi paper approx. 60gsm was used on the day. This paper is extremely pliable and strong. This was used on the day and proved to be very cooperative. Your piece of backing paper has to be a bit larger than the fabric so it can stick down to stabilize the cloth in the drying process. Check the direction of the grain of the paper before starting. Note: If a heavier book cloth is required a good quality cartridge paper with no glossy finish can be used.
- Material of choice – Nicky decided to demonstrate using silk to make her book cloth.
- Choose one of these for the board glass or perspex sheet, or use the back of your cutting mat if it’s clean to lay fabric on to dry (possibly overnight).
- Plastic sheet to lay the paper on to apply the paste.
- Wide Flat Brush to apply the paste.
- Roller – sponge or use lino print roller.
Book cloth paste recipe:
If you are not going to use all the paste at once, sterilise the storage jars you will be using and put in the fridge. The paste will last about a week in the fridge, don’t use it once it starts to smell fruity. Dispose in the compost and NOT down the sink of course!
Use 1 to 6 ratio of flour to water.
Gradually add the water to the flour, first making a paste to reduce the chances of lumps and then continue gradually mixing in the remaining water.
Gradually cook the mixture, stirring it all the time until it is the consistency of mayonnaise. Ensure there are no lumps if there are use a sieve and filter them out before use.
Steps:
- Iron fabric thoroughly removing all creases. Place face down onto the dry board making sure there are no threads in the way.
- Use a squirt bottle with a fine spray to dampen the fabric, this sticks it to the glass, it swells the fibres of the cloth to help the paste bond.
- Place paper onto a piece of plastic that can be washed off.
- Apply paste to the paper spreading out evenly – first with a brush and then with a sponge roller.
- You can do this step by yourself by laying the pasted paper over a length of dowel. We however helped each other by holding the four corners of the pasted paper then laying it on the fabric from the middle slowly working out to the ends. Then from the centre of the work with a lino print roller and very gentle pressure, smooth the paste into the fibres of the fabric, ensuring the papers edges are also pasted to the board.
- Make sure that all of the fabric has been rolled out with no creases or dry spaces.
- Leave to dry on the board.
- Remove dried cloth off the board. Carefully easing off the corners of the paper using a blade, to safely lift the corners.
